Solar Panel Mounting: How to Choose the Right System
The wrong mounting hardware can make a solar installation expensive, hard to maintain, or vulnerable to weather. An RV bracket, rooftop rack, and ground frame solve very different problems.
You need more than a kit that appears to fit your panel. Roof construction, frame dimensions, wind loads, drainage, and access all affect the decision. Residential rooftop arrays usually need engineered systems and professional installation.
This guide compares solar panel mounting styles, explains the compatibility questions worth asking, and reviews five products for distinct situations. The goal is to help you select hardware that fits the location and the job—not simply the most convenient-looking bracket.
What a Solar Panel Mounting System Includes
A mounting system is the structure that keeps photovoltaic modules positioned and attached. Depending on its design, it may use rails, clamps, roof attachments, flashing, support legs, foundations, and specialized fasteners.
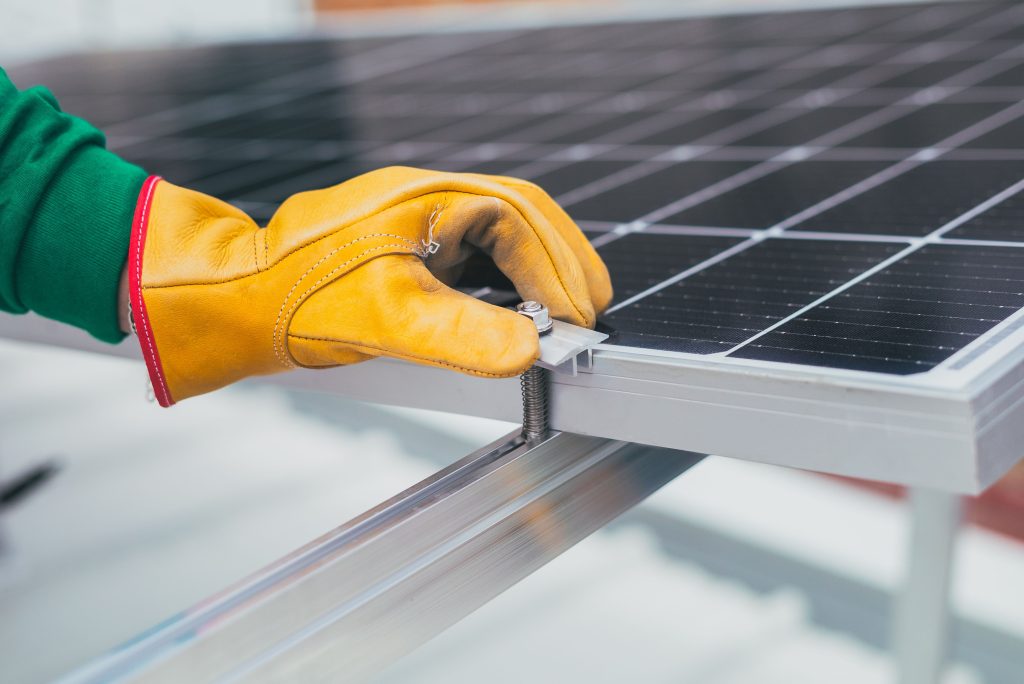
Rails support modules, clamps secure frames, and attachments transfer forces to the structure. Flashing protects roof penetrations; listed bonding components provide electrical continuity.
A box labeled “mounting kit” may contain only brackets and panel bolts. Check for anchors, waterproofing, grounding hardware, and system-specific components.
Roof, Ground, and Pole Mounts Compared
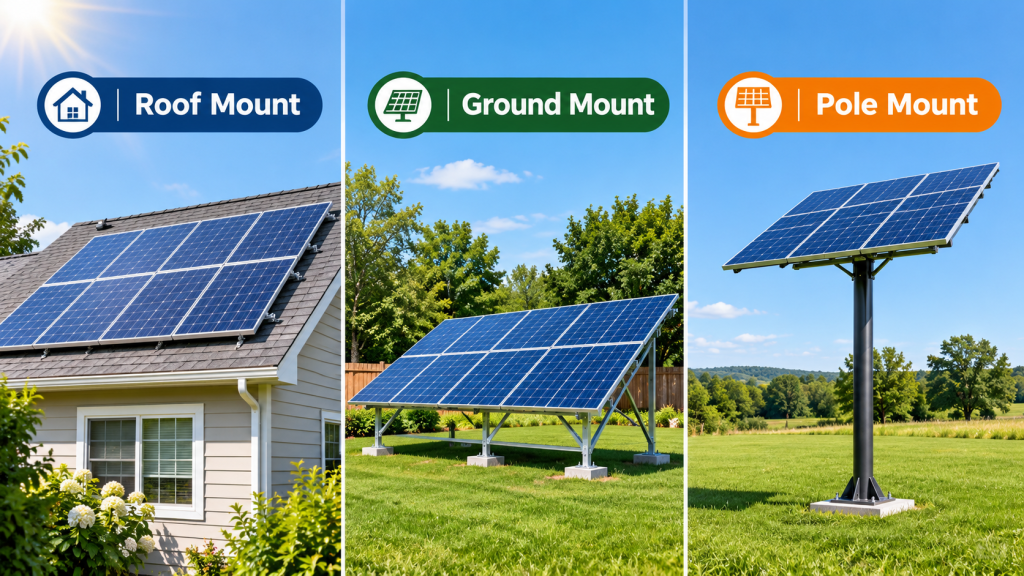
Roof mounts use existing space on sound, sunny roofs. Access and later roof repairs can be difficult.
Ground mounts offer more freedom to choose orientation, tilt, and array size. That requires foundations, land, and potentially trenching. Pole mounts suit smaller remote loads, gates, or cameras.
| Mount type | Strongest advantage | Main consideration |
| Roof | Preserves yard space | Roofing and structural compatibility |
| Ground | Flexible layout and access | Foundations and site preparation |
| Pole or wall | Compact location for a small array | Panel dimensions and support strength |
Rail-Based Versus Rail-Less Mounting
Rail-based systems use profiles and clamps to align multiple modules, including on uneven roofs. They add material and joints. Installation plans must account for splices, supported spans, and rail cantilevers.
Rail-less systems use purpose-built attachments to reduce some hardware. They are not universally compatible with every roof profile or module frame.
For a full residential array, choose a documented mounting system rather than mixing convenient parts. Check its engineering tables, spacing, bonding instructions, and module requirements.
Match the Hardware to Your Roof Material
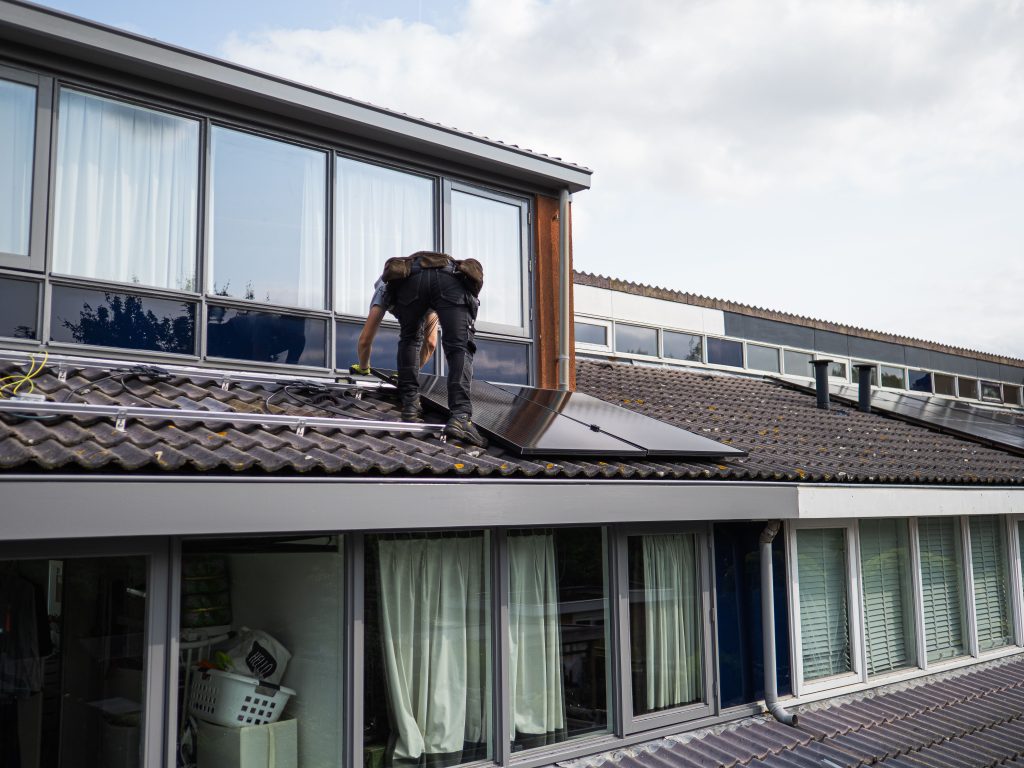
Shingle-roof attachments generally need structural fastening and approved flashing. The roof covering itself should not be treated as the structural anchor.
Some standing-seam roofs accept nonpenetrating, profile-specific clamps when both manufacturers permit them. Corrugated metal needs different attachments. Tile needs hooks or standoffs that protect tiles.
Flat roofs introduce another decision: mechanically attached racks, ballasted systems, or engineered combinations. Neither ballast nor a generic adhesive makes a rack automatically suitable. Ask for a roof-specific attachment schedule before purchasing.
Check Module Dimensions Before Buying Brackets
Panel wattage does not tell you whether a mount fits. Measure length, width, frame thickness, hole locations, and permitted clamp zones. Use the panel manufacturer’s installation manual, not estimates from photographs.
An adjustable bracket advertised for a 400-watt module may still be too short for a particular 400-watt panel. Clamps also need the correct frame thickness.
Check orientation, module count, and corner restrictions. Check which fasteners are included. These details prevent expensive returns and unsafe improvisation.
Solar Panel Mounting Angles and Shade
Flush roof mounts generally follow the roof pitch. Tilted racks add angle flexibility but may increase wind exposure and row shading.
In the Northern Hemisphere, south-facing panels tilted near local latitude are a starting point, not a rule. Compare tilt against shade and seasonal demand.
If you’re deciding whether adjustable brackets justify their cost, review the best solar panel angle for maximum sunlight before setting your rack height. A slightly imperfect fixed tilt can be a better overall choice than a complex adjustable mount that rarely gets repositioned.
Wind Loads, Structure, and Waterproofing
A strong-looking bracket does not prove the finished array can resist wind uplift. Engineers assess roof zones, building height, exposure, snow loads, attachment spacing, and how forces pass through rails and fasteners into the structure.
Roof edges and storm-prone sites need particular care. Raised racks and incorrect clamps can fail despite sturdy panels.
Waterproofing deserves equal attention. Roof penetrations need approved, roof-compatible details. Household caulk cannot substitute for specified flashing. A bracket load rating alone never establishes that the full roof assembly is adequate.
Materials, Corrosion, and Electrical Bonding
Aluminum brackets resist corrosion without excessive weight. Ground racks often use galvanized steel and stainless-steel fasteners.
The right material will still vary depending on the specific site conditions. Salt spray, trapped water, and dissimilar metals can accelerate corrosion. Follow the manufacturer’s specifications rather than replacing supplied fasteners with whatever fits.
Approved bonding connects metallic components electrically. Clamps do not automatically provide electrical bonding; use only the combinations and installation methods identified in the applicable documentation. Avoid unapproved substitutions that interrupt that connection.
Plan Installation, Permits, and Safe Access
Before purchasing, assess the roof and map modules, attachments, wiring, and access. Check local building, electrical, and fire requirements early.
The U.S. Department of Energy explains that rooftop solar commonly needs permits and inspections before grid operation. Installers can coordinate engineering, roofing, and utility approvals.
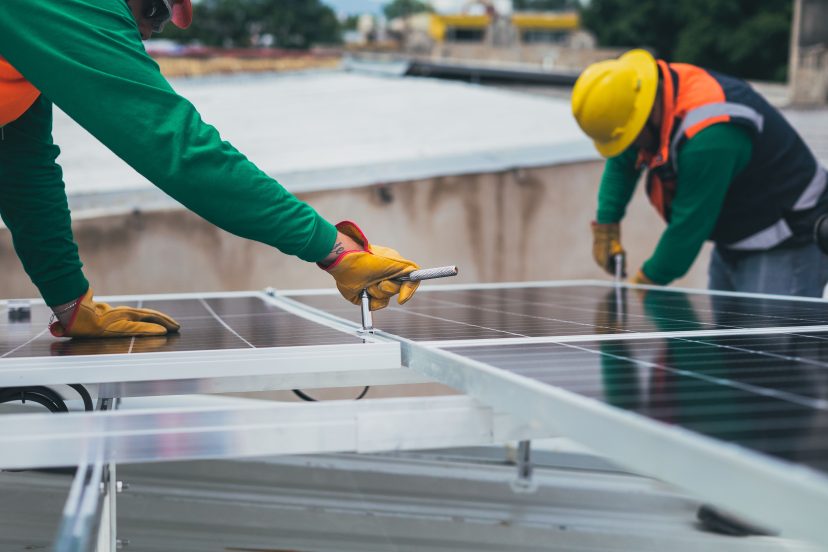
Small RV projects still need safe anchoring and wiring. Never treat roof work as a casual DIY task: falls, energized conductors, and unsecured modules can cause serious injuries.
Compare Complete Mounting Costs, Not Kit Prices
Cheap brackets do not guarantee a cheap installation. Budget for rails, flashing, bonding, engineering, permits, and labor.
Roof complexity can increase installation time. Ground racks add foundation, trenching, and routing costs. Adjustable tilt mechanisms may require more parts and periodic attention than fixed racks.
Compare quotes using the same array size. Ask whether future roof replacement, servicing, or panel expansion would require removing the structure. A higher initial mounting cost may be reasonable when it prevents foreseeable rework.
Maintenance, Clearance, and Future Expansion
Allow inspection, drainage, and required fire access. Roof systems need safe technician access; ground installations need vegetation control and protection from impacts.
Inspect for corrosion, loose parts, damaged flashing, or wiring. Inspection frequency and methods should follow the system documentation and local conditions. Avoid climbing onto panels or tightening unfamiliar structural bolts yourself.
Plan expansions before finalizing rails, space, or wiring. Extra rows must still meet setbacks and avoid shading. Keep the installation drawings and component specifications for future service calls.
Five Recommended Solar Panel Mounting Products
These products cover small fixed installations, tilting panels, pole placement, and modest ground arrays. They are not interchangeable with a complete engineered residential rooftop racking package. Always verify the chosen kit against the module, mounting surface, and site loads.
1. Renogy Solar Panel Mounting Z Bracket — Set of 4
Best for: One small, rigid panel on an RV or shed
Renogy’s four aluminum Z brackets provide a compact fixed mounting method for small off-grid projects. The set includes panel fasteners and is intended for a single rigid module; Renogy does not recommend it for a single panel over 200 watts. Surface fastening and weatherproofing still require care, especially on thin or flexible roofing.
2. Renogy 28in Adjustable Solar Panel Mount Brackets
Best for: Smaller compatible panels needing occasional tilt changes
These foldable tilt brackets suit flat mounting surfaces, including stationary RV installations. Adjustable legs let an accessible panel change its angle without replacing the entire support. Compatibility is narrower than the name suggests: check Renogy’s current supported module models, hole spacing, and travel instructions before ordering or moving the vehicle.
3. ECO-WORTHY Upgraded 45in Solar Panel Tilt Mount Brackets
Best for: A larger framed panel on a suitable flat surface
The 45-inch aluminum bracket kit uses foldable support legs to provide an adjustable alternative to fixed Z brackets. Its listed applications include off-grid and RV installations with compatible modules. Confirm actual panel dimensions and the fastener layout; the advertised wattage range alone cannot establish fit or the structure’s resistance to wind.
4. Newpowa Universal Double-Arm Pole/Wall Mount, NPB-410P
Best for: Two compatible panels on a pole, wall, or fence
Newpowa’s aluminum double-arm mount offers a 0–90-degree tilt adjustment and bottom support for a compact array. Its manufacturer describes configurations including two compatible rigid panels, subject to combined dimensions. It offers flexibility where roof space is awkward, but the supporting pole or wall and its anchors need independent structural verification.
5. ECO-WORTHY Upgraded Solar Ground Mount Adjustable Multi-Pieces Kit
Best for: A small cabin or backyard ground array
This multi-piece ground-rack kit provides an adjustable support structure for several compatible framed panels. The product listing describes combinations such as four 200-watt, three 300-watt, or two 400-watt modules. Those are configuration examples, not guarantees for every panel; foundations, soil conditions, bracing, and local loading requirements remain separate decisions.
What Official Solar Guidance Says About Mounting Safety
The U.S. Department of Energy’s Solar Photovoltaic System Design Basics explains that mounting structures must remain stable through wind, precipitation, and corrosion. This supports choosing weather-rated racking instead of evaluating hardware only by weight or appearance.
Its 2025 installation and commissioning guidance emphasizes wind-rated supports, lateral bracing, corrosion protection, and reliable critical fasteners. These recommendations concern system design; they do not certify an individual consumer bracket for your property.
DOE’s rooftop permitting guidance also confirms that local review and inspection matter. Ask an installer for the load calculations, approved attachment details, and system documentation instead of relying on a product’s advertising claims.
Frequently Asked Questions About Solar Panel Mounting
Can I mount a solar panel directly onto my roof?
Only with an attachment method approved for the panel, roof covering, structure, and local requirements. A few generic screws through the roof are not a suitable residential mounting plan. Proper hardware transfers wind and gravity loads to supporting members, while compatible flashing protects penetrations. Have a roofing or solar professional assess a permanent rooftop installation.
Are adjustable solar panel mounts worth buying?
They can be worthwhile for accessible, small systems where seasonal angle changes are practical. A fixed rack often makes more sense on a house because it needs less adjustment and avoids added moving hardware. Estimate the actual production benefit first, then compare it with structural complexity, access, and maintenance requirements.
Can the same brackets fit different solar panel brands?
Sometimes, but don’t assume so because wattages match. The mounting kit must accommodate the module’s dimensions, frame thickness, permitted clamp zones, and hole spacing. Check both manufacturers’ instructions. You may also need different fasteners or a different quantity of supports, provided the resulting configuration is explicitly permitted.
Is ground mounting cheaper than roof mounting?
Not necessarily. A convenient roof may avoid foundations and long cable runs, while a ground array can require excavation, concrete, trenching, and more structural steel. On an old or complicated roof, however, ground mounting might avoid costly roofing modifications. Compare complete installed quotes, rather than just the bracket or rack prices.
What is the typical lifespan of solar mounting hardware?
Mounting systems are generally intended for prolonged outdoor service, but no single lifespan applies to every product. Coating quality, corrosion exposure, load cycles, correct installation, and maintenance affect durability. Check the manufacturer’s stated warranty and inspection guidance, and have damaged attachments or corrosion assessed promptly rather than assuming panels will outlast their supports.
Conclusion: Choosing the Right Solar Panel Mounting System
The right solar panel mounting system starts with the location, not the bracket. For a single small shed panel, Renogy Z brackets may be a sensible fit. For an accessible array that benefits from changing tilt, an ECO-WORTHY adjustable kit deserves consideration. A ground rack or Newpowa pole mount suits different space constraints, provided the supporting structure is properly designed.
For a residential rooftop, prioritize roof-specific attachments, documented load ratings, compatible clamps, waterproofing, and professional assessment over an inexpensive all-purpose kit. Before purchasing, match the exact panel dimensions, confirm the permitted installation method, and compare complete project costs. Choose the mounting system that fits your site safely and remains practical to service.